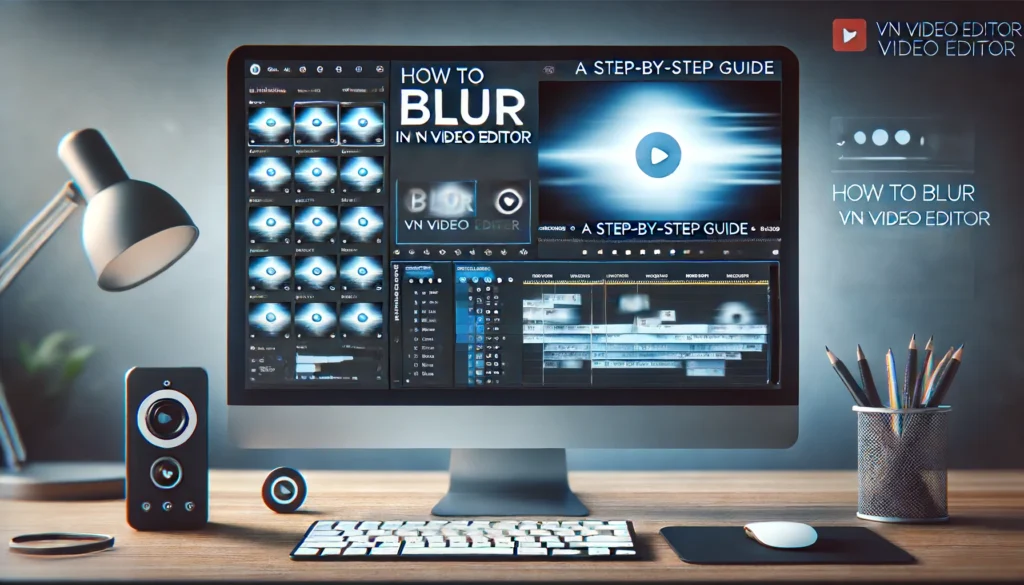
How to Blur in VN Video Editor
One strong way to edit videos is to blur parts of them to draw attention to certain parts, protect privacy, or make artistic effects. Although VN Video Editor is a flexible and easy-to-use app, it has many tools that make blurring simple and effective. This step-by-step guide will show you how to blur in VN Video Editor, so you can make your videos look more professional and creative.
Why Use Blur in Video Editing?
Blurring can be essential for various reasons, including:
- Focusing Attention: Direct viewers’ focus to specific parts of the video by blurring distracting or irrelevant elements.
- Protecting Privacy: Conceal sensitive information or identities to maintain privacy.
- Creating Artistic Effects: Add a professional touch with creative blurring effects to enhance the visual appeal.
Understanding these applications will help you use the blurring feature effectively to achieve your desired outcome.
Getting Started with VN Video Editor
Before you begin blurring elements in your video, ensure you have VN Video Editor installed on your device. If not, download and install it from your device’s app store.
- Launch VN Video Editor: Open the VN Video Editor application on your device.
- Create a New Project: Tap on “New Project” and import the video clip you wish to edit.
- Add the Video to Timeline: Drag and drop your video into the timeline for editing.
Accessing the Blur Feature
To access the blur feature in VN Video Editor, follow these steps:
- Select the Video Clip: Tap on the video clip in the timeline to highlight it. Then, tap on the “Effects” option at the bottom of the screen to access the effects settings.
- Choose Blur Effect: In the effects settings, look for the “Blur” option. This feature allows you to apply various types of blur effects to your video.
- Apply the Desired Blur: Browse through the available blur effects and select the one that suits your needs. VN Video Editor offers a variety of blur effects such as:
- Gaussian Blur: Smooth, evenly distributed blur.
- Motion Blur: Creates a sense of movement.
- Radial Blur: Blurs from a central point outward.
- Adjust Blur Settings: After selecting a blur effect, you can adjust its intensity and other parameters to fine-tune the blur.
- Preview the Changes: Play the video to preview the blur effect. Make further adjustments if necessary until you achieve the desired effect.
Detailed Step-by-Step Process
Here’s a more detailed breakdown of the steps involved in applying blur in VN Video Editor:
- Open VN Video Editor:
- Launch the application and start a new project.
- Import your video clip by tapping the “Import” button.
- Add Video to Timeline:
- Drag the imported video to the timeline to begin editing.
- Select the Video Clip:
- Tap on the video clip to select it.
- Tap on the “Effects” option to open effects settings.
- Access Blur Effects:
- Look for the “Blur” option in the effects settings menu.
- Tap on it to see the list of available blur effects.
- Choose a Blur Effect:
- Scroll through the effects such as Gaussian Blur, Motion Blur, and Radial Blur.
- Tap on an effect to apply it.
- Adjust Effect Parameters:
- Use sliders to adjust the intensity of the blur.
- Fine-tune other settings as per your requirement.
- Preview and Refine:
- Play the video to see how the blur looks.
- Make further adjustments if needed to perfect the effect.
- Save and Export:
- Once satisfied, save your project.
- Tap on the “Export” button to save the edited video to your device.
Tips for Effective Blurring
To make the most of VN Video Editor’s blurring feature, consider the following tips:
- Understand the Context: Choose a blur effect that matches the context and tone of your video. For instance, Motion Blur might be suitable for action scenes, while Gaussian Blur is ideal for softening backgrounds.
- Adjust with Care: Overuse of blur can make the video look unprofessional. Adjust the intensity of the blur carefully to maintain visual quality.
- Use Keyframes: If you need the blur to change over time (e.g., follow a moving object), use keyframes to animate the blur effect dynamically.
- Combine Effects: Experiment with combining different blur effects for unique outcomes. For example, combining Motion Blur with Gaussian Blur can create a dreamy, dynamic effect.
- Practice and Experiment: Spend time practicing and experimenting with different settings. Familiarize yourself with how each blur effect changes the visual appearance of your video.
Troubleshooting Common Issues
If you encounter any issues while applying blur in VN Video Editor, here are some solutions:
Conclusion
You can give your video projects a new look by learning how to use the blur tool in VN Video Editor. VN Video Editor gives you the tools you need to get professional results, whether you want to draw attention to something, keep your data safe, or add artistic effects. If you follow this complete guide, you will be able to use blur effectively in your videos and make your content better overall.
Additional Tips for Advanced Users
For those looking to dive deeper into blurring techniques, consider these advanced tips:

