How to Change Voice in VN Video Editor
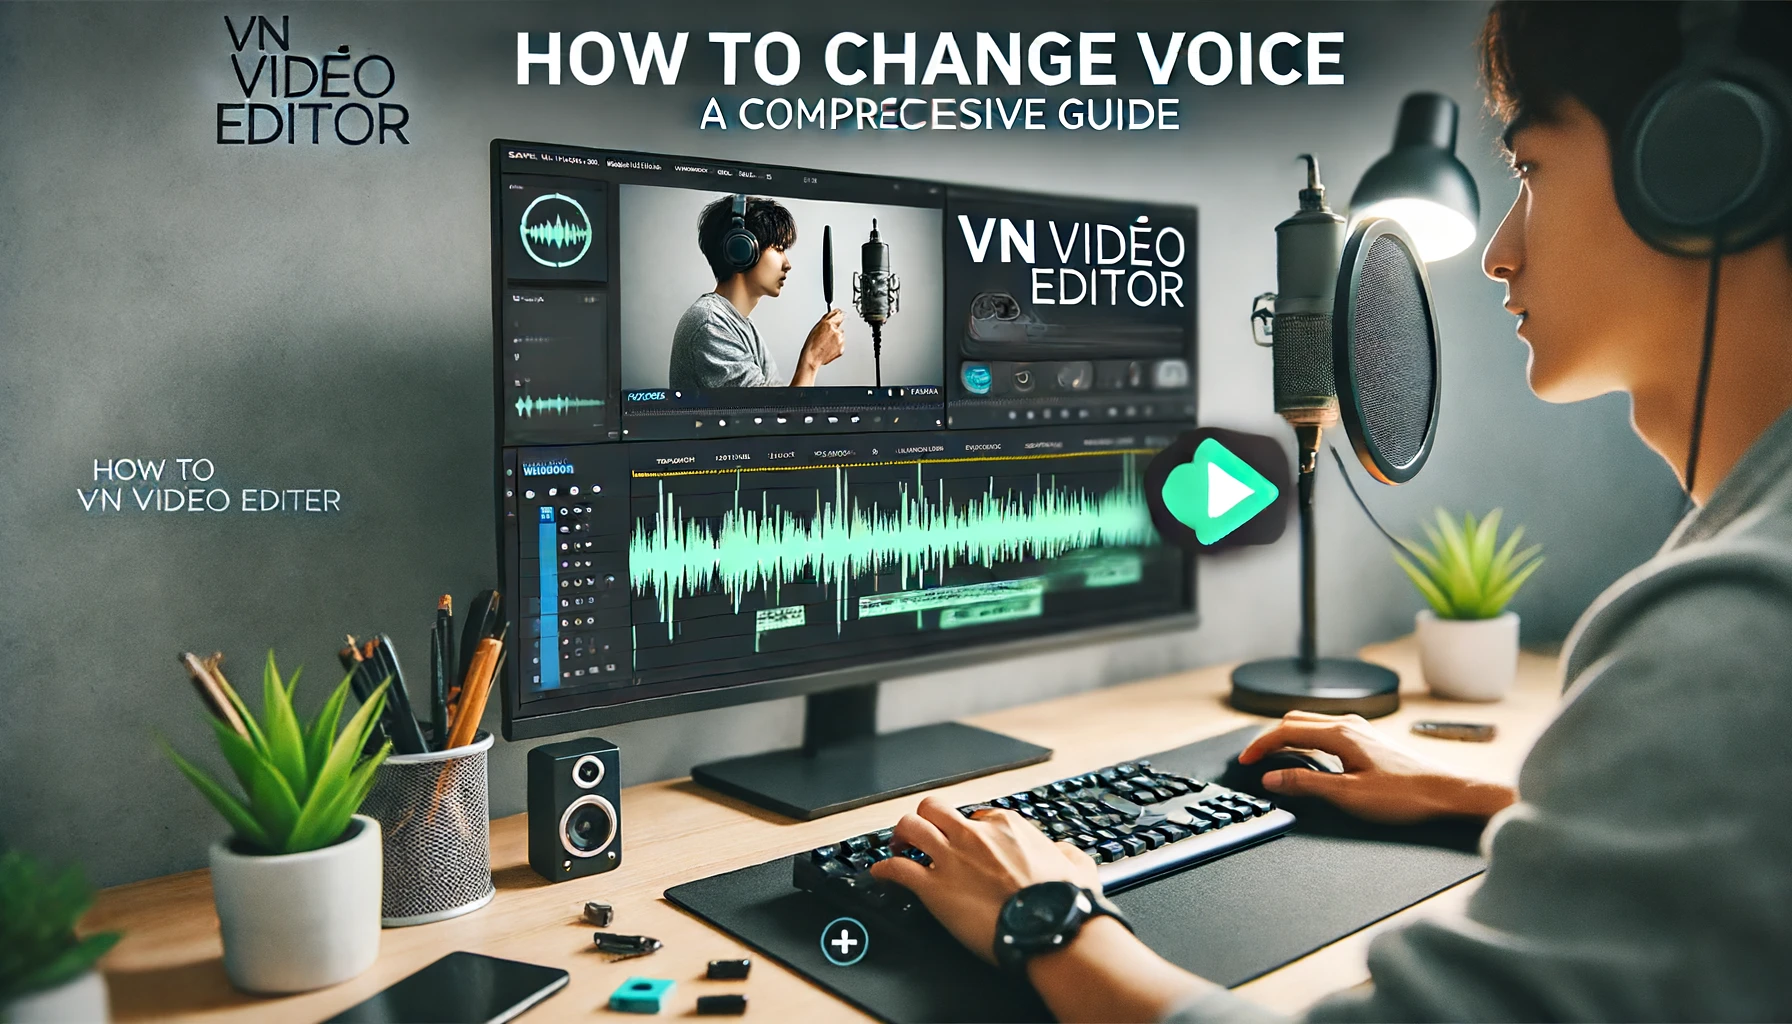
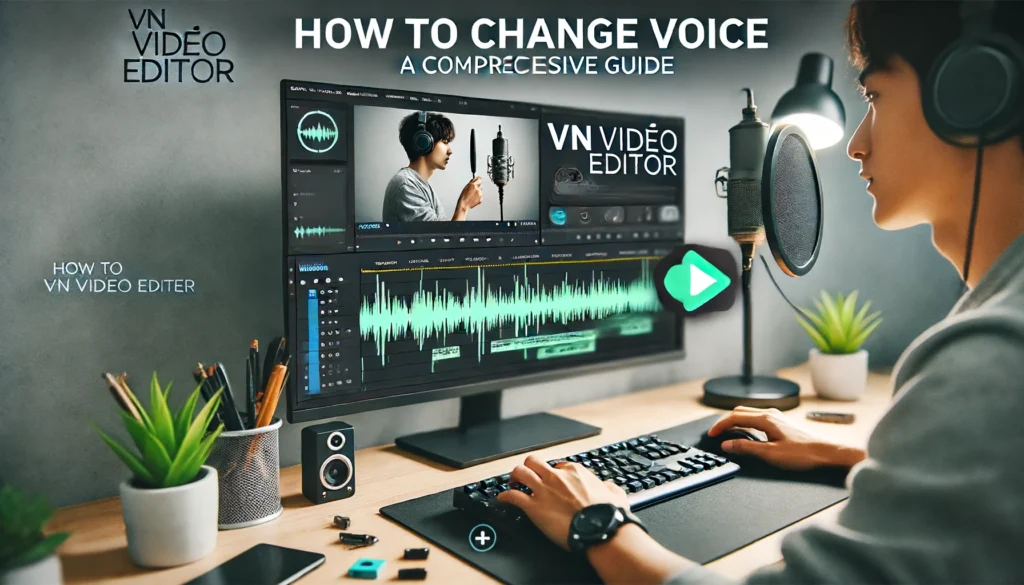
Voice editing is an important part of video production that can make your content much more interesting. VN Video Editor is a flexible and easy-to-use app that lets you change your voice, among other things. This guide shows you how to use VN Video Editor to change the voice in your movies in a detailed, step-by-step way.
Why Change Voice in Videos?
Changing the voice in your videos can serve multiple purposes:
- Character Differentiation: Differentiate characters in a narrative.
- Creative Effects: Add humor or dramatic effects to enhance storytelling.
- Privacy Protection: Mask the identity of individuals.
- Language Dubbing: Sync different languages to the video content.
Understanding these applications helps in effectively utilizing the voice-changing feature to suit your specific needs.
Getting Started with VN Video Editor
Before diving into the voice-changing process, ensure you have the VN Video Editor installed on your device. If not, download and install it from your device’s app store.
- Launch VN Video Editor: Open the VN Video Editor application on your device.
- Create a New Project: Tap on “New Project” and import the video clip you wish to edit.
- Add the Video to Timeline: Drag and drop your video into the timeline for editing.
Accessing the Voice Change Feature
To access the voice-changing feature in VN Video Editor, follow these steps:
- Select the Audio Track: Tap on the video clip in the timeline to highlight it. Then, tap on the “Audio” option at the bottom of the screen to access audio settings.
- Choose Voice Effects: In the audio settings, look for the “Voice Effects” option. This feature allows you to apply various effects to change the voice.
- Apply the Desired Effect: Browse through the available voice effects and select the one that suits your needs. VN Video Editor offers a variety of effects such as:
- Robot: For a mechanical sound.
- Chipmunk: High-pitched and humorous.
- Deep Voice: Low-pitched and dramatic.
- Echo: Adds an echo effect.
- Adjust Effect Settings: After selecting an effect, you can adjust its intensity and other parameters to fine-tune the voice change.
- Preview the Changes: Play the video to preview the voice change. Make further adjustments if necessary until you achieve the desired effect.
Detailed Step-by-Step Process
Here’s a more detailed breakdown of the steps involved in changing the voice in VN Video Editor:
- Open VN Video Editor:
- Launch the application and start a new project.
- Import your video clip by tapping the “Import” button.
- Add Video to Timeline:
- Drag the imported video to the timeline to begin editing.
- Select Audio Track:
- Tap on the video clip to select it.
- Tap on the “Audio” option to open audio settings.
- Access Voice Effects:
- Look for the “Voice Effects” option in the audio settings menu.
- Tap on it to see the list of available voice effects.
- Choose an Effect:
- Scroll through the effects such as Robot, Chipmunk, Deep Voice, and Echo.
- Tap on an effect to apply it.
- Adjust Effect Parameters:
- Use sliders to adjust the intensity of the effect.
- Fine-tune other settings as per your requirement.
- Preview and Refine:
- Play the video to hear the changes.
- Make further adjustments if needed to perfect the effect.
- Save and Export:
- Once satisfied, save your project.
- Tap on the “Export” button to save the edited video to your device.
Tips for Effective Voice Changing
To make the most of VN Video Editor’s voice-changing feature, consider the following tips:
Troubleshooting Common Issues
If you encounter any issues while changing the voice in VN Video Editor, here are some solutions:
Additional Tips for Advanced Users
For those looking to dive deeper into voice editing, consider these advanced tips:
- Layering Effects: Experiment with layering multiple effects for a more complex sound. For instance, combine Robot and Echo for a futuristic vibe.
- Custom Voice Effects: Use VN Video Editor’s advanced audio settings to create custom voice effects. Adjust parameters like pitch, speed, and reverb for unique outcomes.
- Integrating Background Music: Enhance the edited voice with background music. Ensure the music complements the voice effect and does not overpower it.
- Noise Reduction: Use the noise reduction feature to clean up the audio before applying voice effects. This results in a clearer and more professional sound.
- Synchronization: Ensure that the edited voice remains in sync with the video. Use VN Video Editor’s timeline tools to fine-tune the synchronization.
By leveraging these advanced tips, you can take your voice editing skills to the next level and produce high-quality videos that stand out. VN Video Editor’s robust set of tools and user-friendly interface make it an excellent choice for both beginners and advanced users aiming to enhance their video content.
Conclusion
Mastering the voice-changing feature in VN Video Editor can add a new dimension to your video projects. Whether you’re aiming for humor, drama, or privacy protection, VN Video Editor provides the tools you need to achieve professional results in all Operating systems like iOS, ANDROID, macOS and Windows. By following this comprehensive guide, you can effectively change voices in your videos and enhance the overall quality and engagement of your content.

