How to Stabilize Video in VN Video Editor
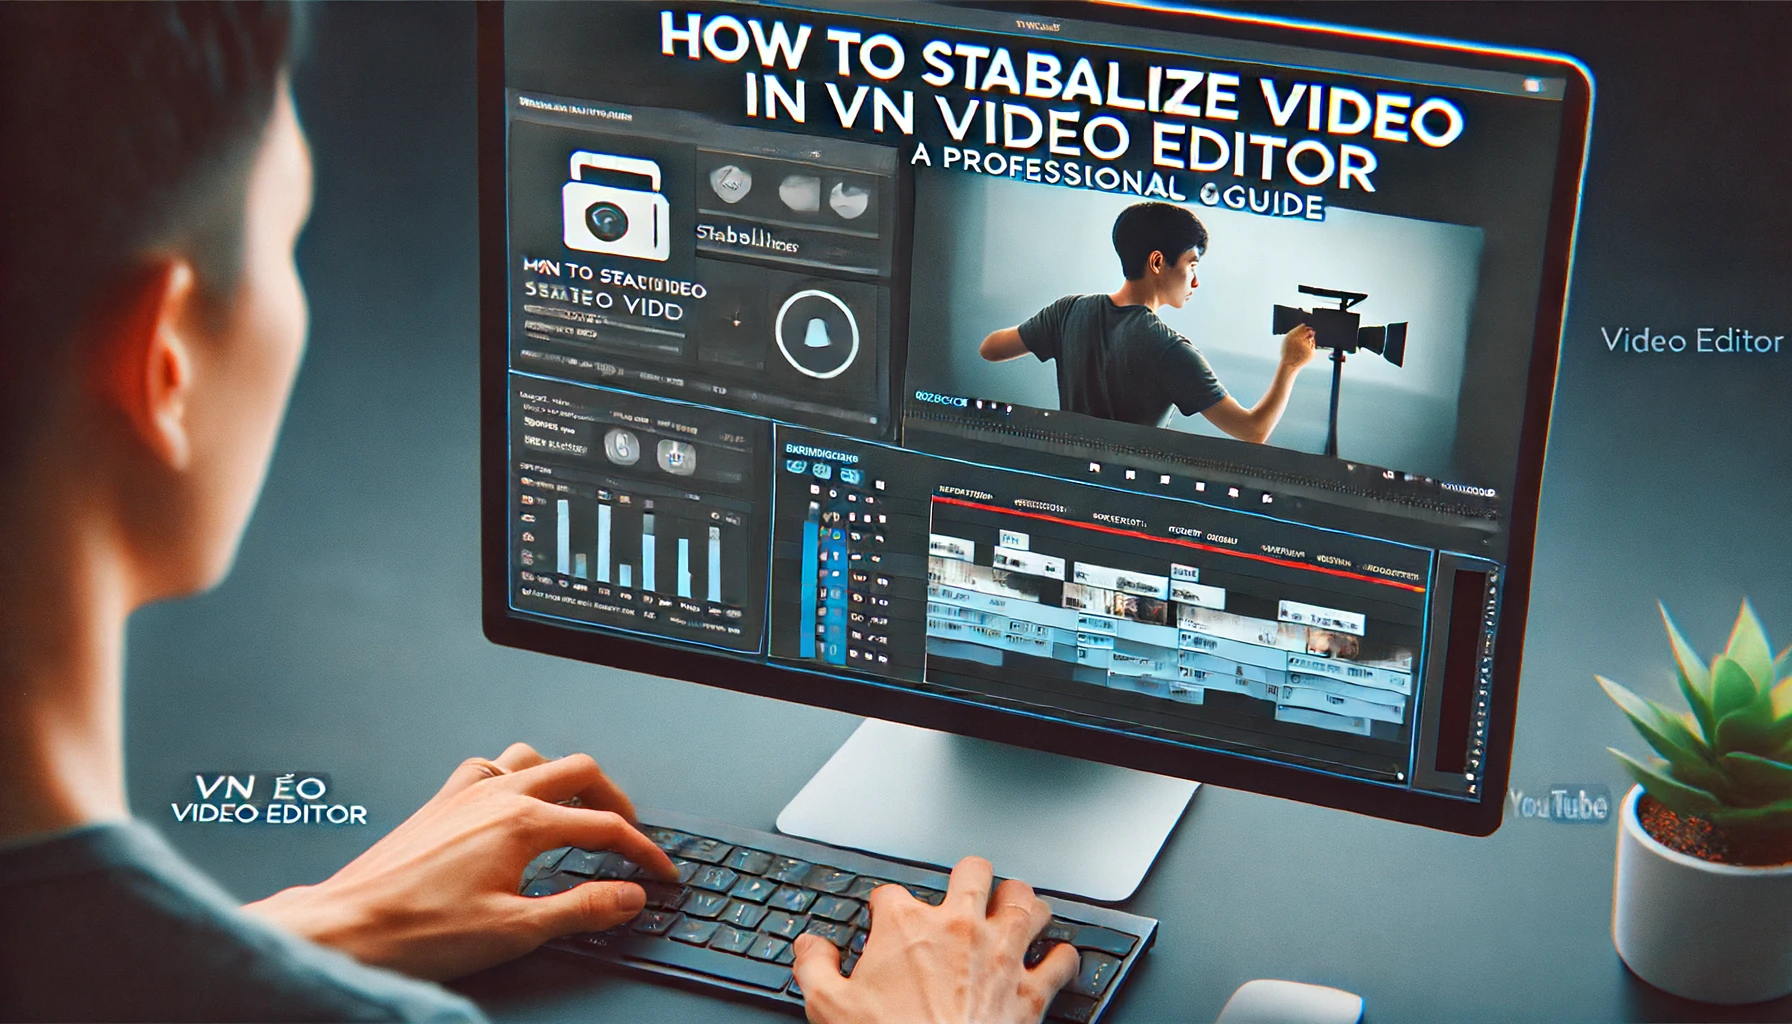
The most important part of editing videos is stability, which can make your videos look much better. VN Video Editor is an app with many free advanced features. It has a video stabilization feature that can make shaky footage into smooth, captivating videos. Here is an expert guide on how to use VN Video Editor to steady your videos.
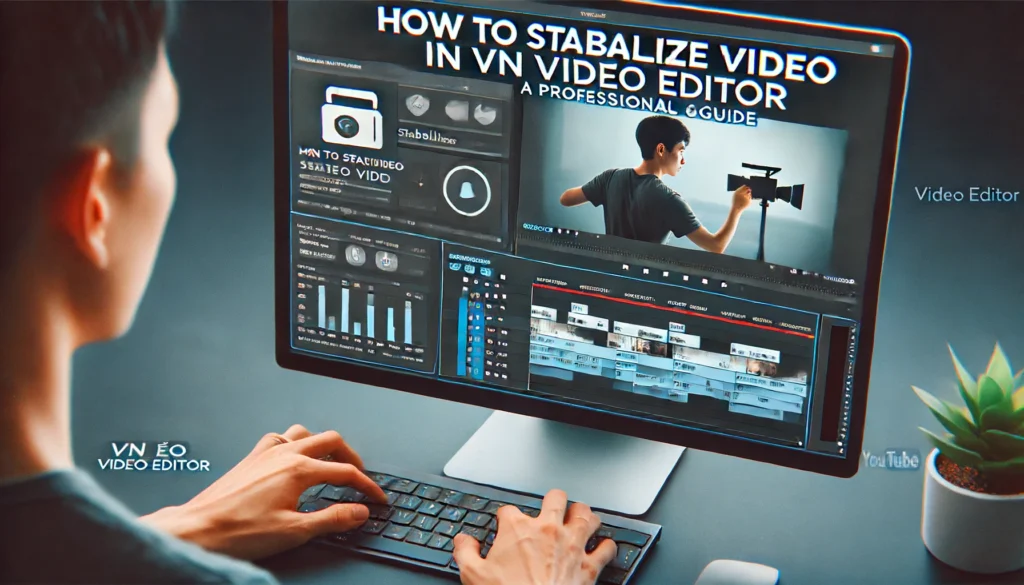
Why Video Stabilization is Necessary
Unstable or shaky videos can look unprofessional and deter your audience. Fortunately, VN Video Editor’s powerful stabilization feature can address this issue with just a click. Here are some benefits of using video stabilization:
- Enhanced Video Quality: Stabilization reduces unwanted motion or blur caused by camera shake, wind, or sudden movements, resulting in smoother videos.
- Professional Appearance: Stabilized videos have a polished, professional look, enhancing overall video quality and engagement.
- Improved Viewer Experience: Stabilization minimizes distractions, allowing viewers to focus on the content without unnecessary movements.
How to Stabilize Video in VN Video Editor
Follow these detailed steps to stabilize your video in VN Video Editor effectively:
- Open VN Video Editor: Launch the VN Video Editor on your device.
- Create a New Project: Click “New Project” and import the video you want to stabilize.
- Select the Video Clip: Locate the video clip on the timeline.
- Access the Stabilization Tool: Search for the video stabilization feature in the bottom bar.
- Apply Stabilization: Click on the Video Stabilization feature and apply it to your video.
- Adjust Settings: Modify settings like smoothness and strength of stabilization as needed.
- Preview and Adjust: Play the video to preview the stabilization effect. Make any necessary adjustments to ensure your video looks professional.
- Export the Video: Click on “Export,” adjust the export settings accordingly, and save the stabilized video.
Detailed Steps with Illustrations
Below is a detailed table summarizing the steps to stabilize a video in VN Video Editor:
| Action | Description |
| Open VN Video Editor | Launch the app on your device. |
| Create a New Project | Click “New Project” and import your video. |
| Select the Video Clip | Locate the video clip on the timeline. |
| Access Stabilization Tool | Find the video stabilization feature in the bottom bar. |
| Apply Stabilization | Click the feature and apply it to your video. |
| Adjust Settings | Modify settings like smoothness and strength. |
| Preview and Adjust | Preview the effect and make adjustments if necessary. |
| Export the Video | Save the stabilized video with the desired settings. |
Tips for Effective Video Stabilization
Troubleshooting Common Issues
If you encounter issues while stabilizing your video, consider these tips:
Conclusion
Mastering the video stabilization feature in VN Video Editor can significantly improve the quality of your videos. The most interesting thing is it’s available in all kind of operations system like iOS, android, macOS and windows. By following the steps outlined in this guide, you can transform shaky footage into smooth, professional-looking videos. Elevate your video editing skills with VN Video Editor and create high-quality content that captivates your audience.

